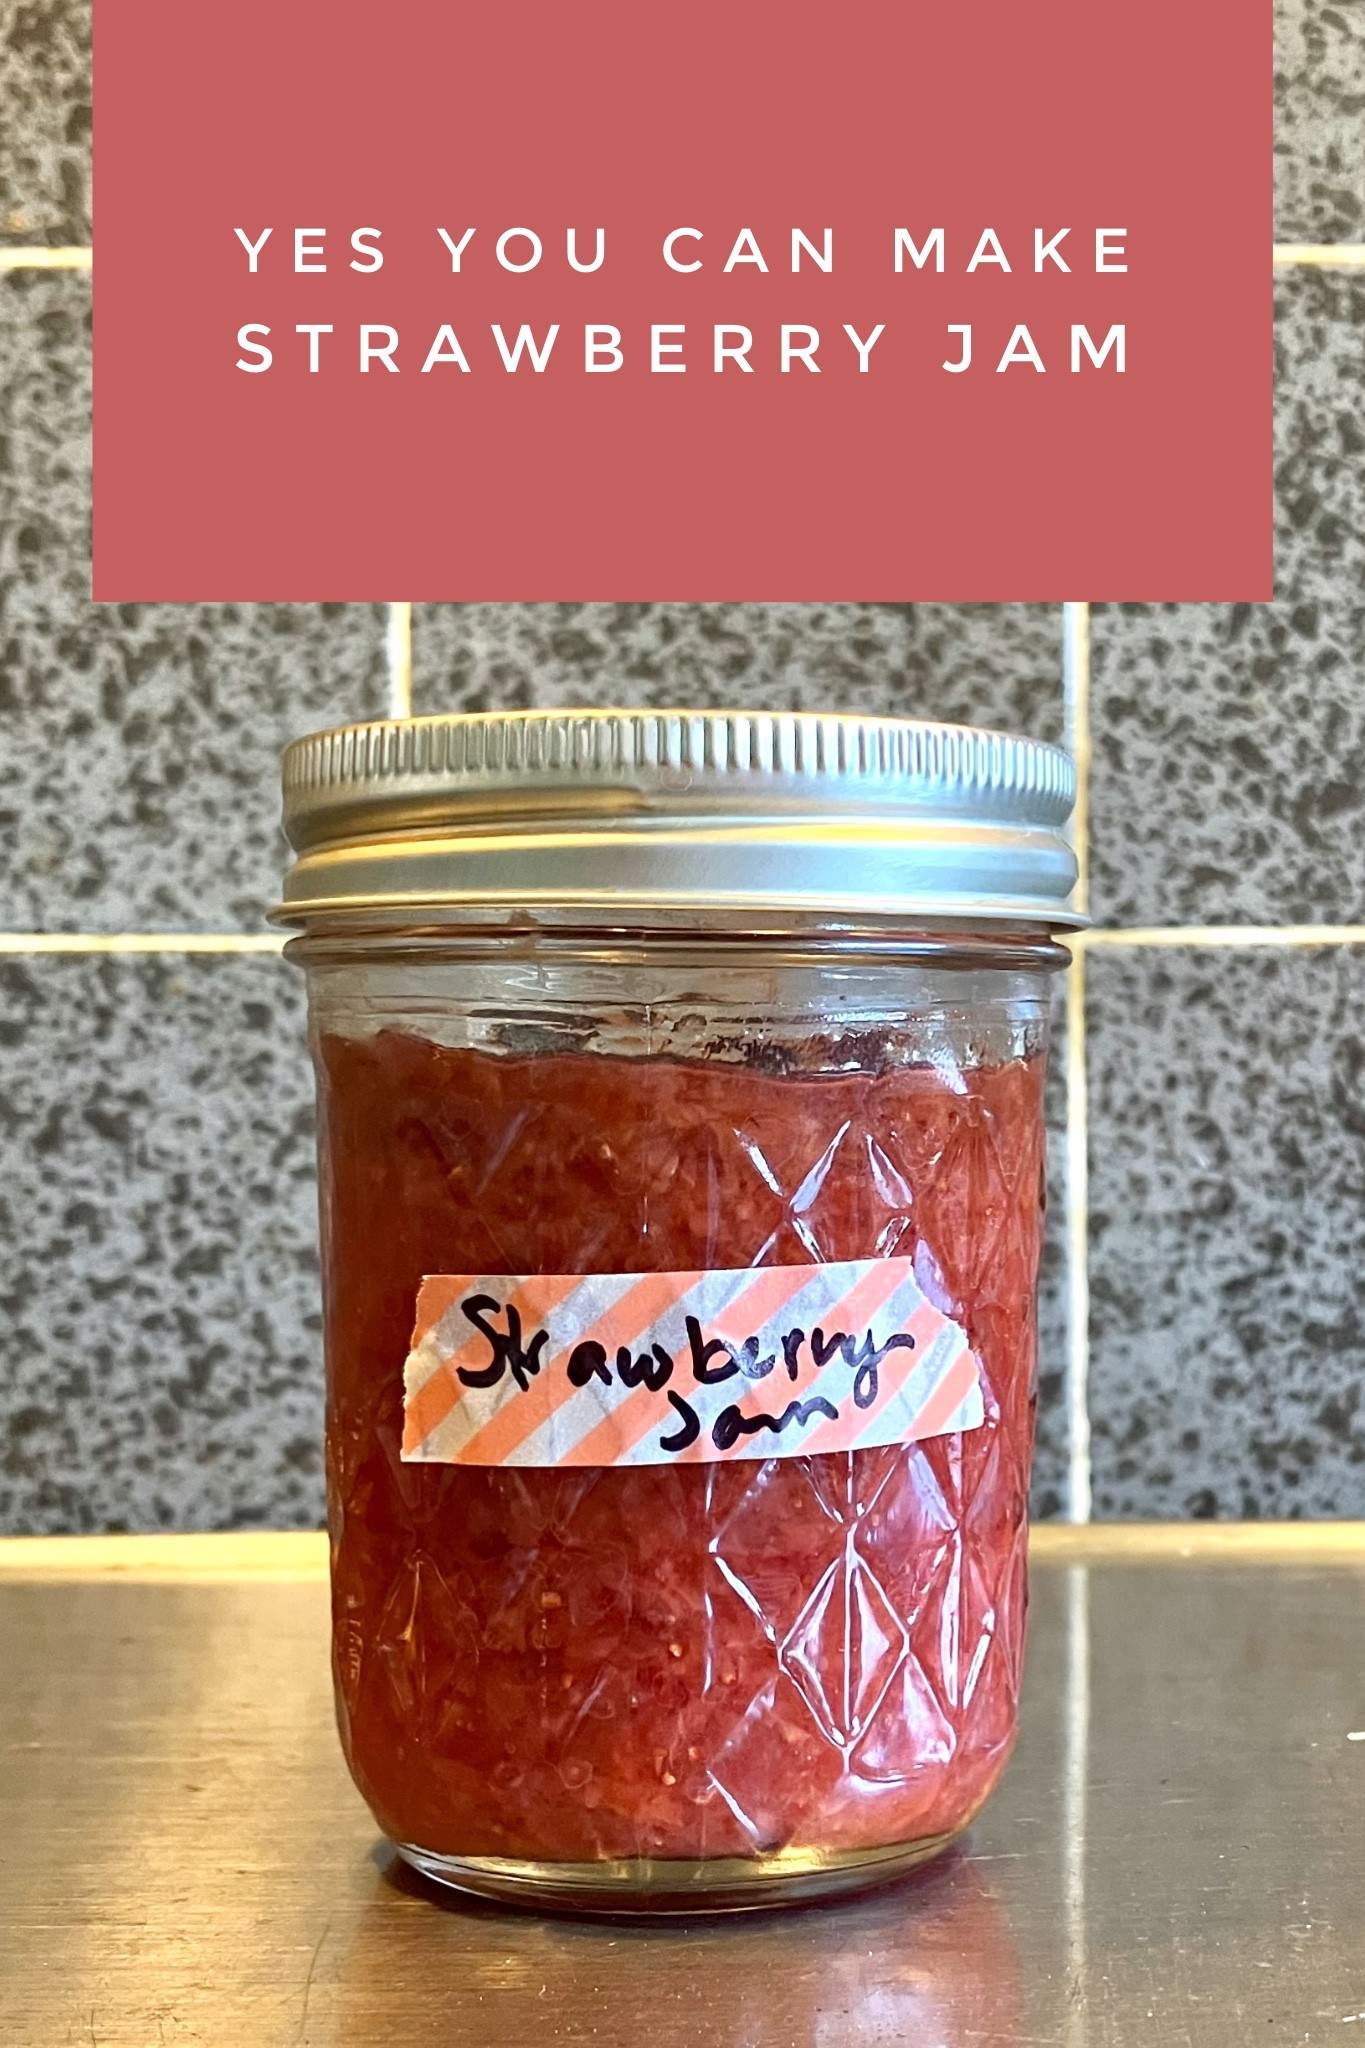
When strawberries are fresh and in season, they can sometimes be purchased at a relatively low cost and then preserved for later use. Or maybe you grew a large harvest and don’t know what to do with them all. You could cut them up and freeze them, but I prefer making jam.
While homemade jam sounds extremely fancy but is actually something I think anyone could do (watch out for small kids though because they can burn themselves) and requires very little. The method I describe below will lead to a slightly looser consistency, but absolutely delicious! Obviously, use the amount of sugar that you would like and adjust to taste.
While technically this takes several hours because you wait on the sugar to release juices from the jam, the total active time making jam is less than 30 minutes.
What you need to make Strawberry Jam:
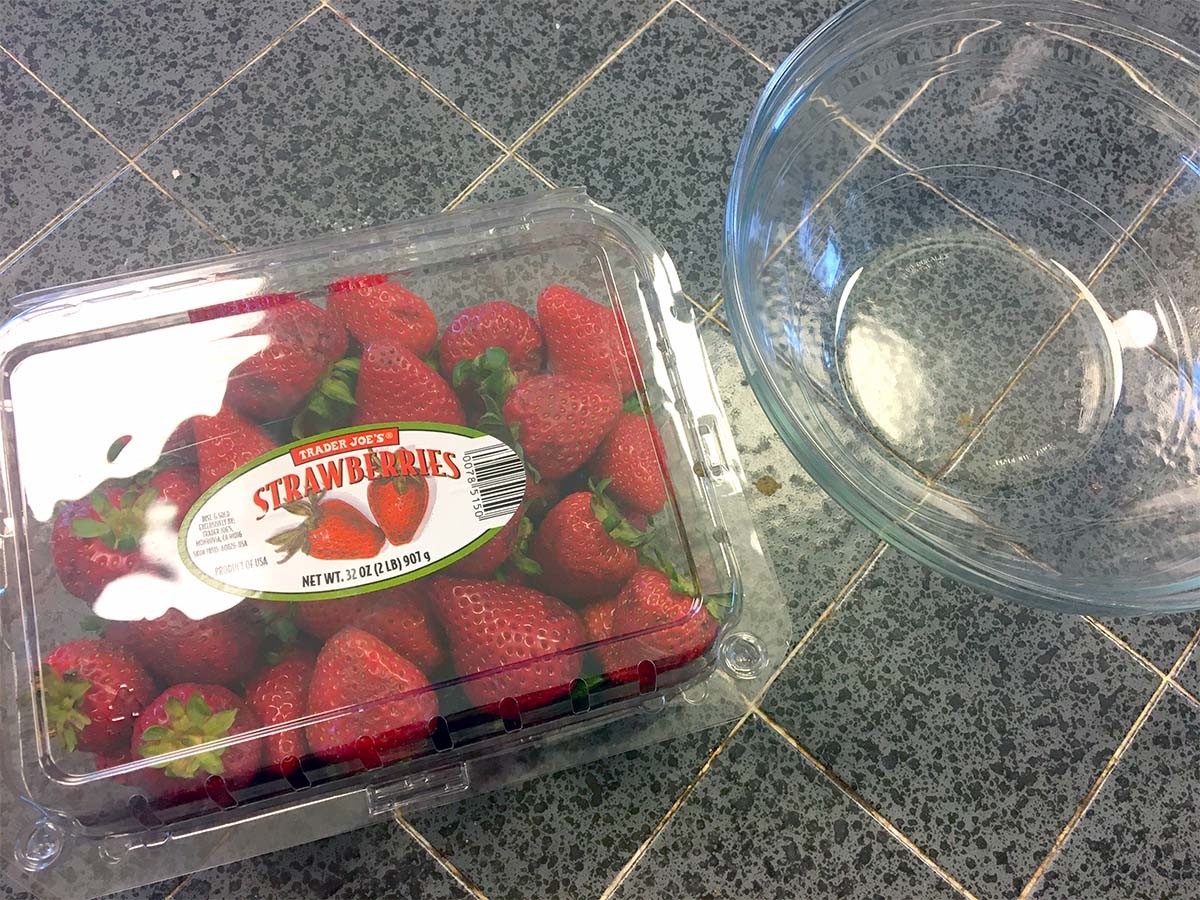
- 2 lbs. of Strawberries
- 2 cups Sugar
- 1/4 tsp. Salt
- Lemon
- Bowl
- Saucepan
- Immersion blender or potato masher (something to break up the strawberries)
- Jars to put jam in (can be reused especially if not sealing the lids using the water bath method)


Process for how to make Strawberry Jam
- Start with 2 lbs. of Strawberries.
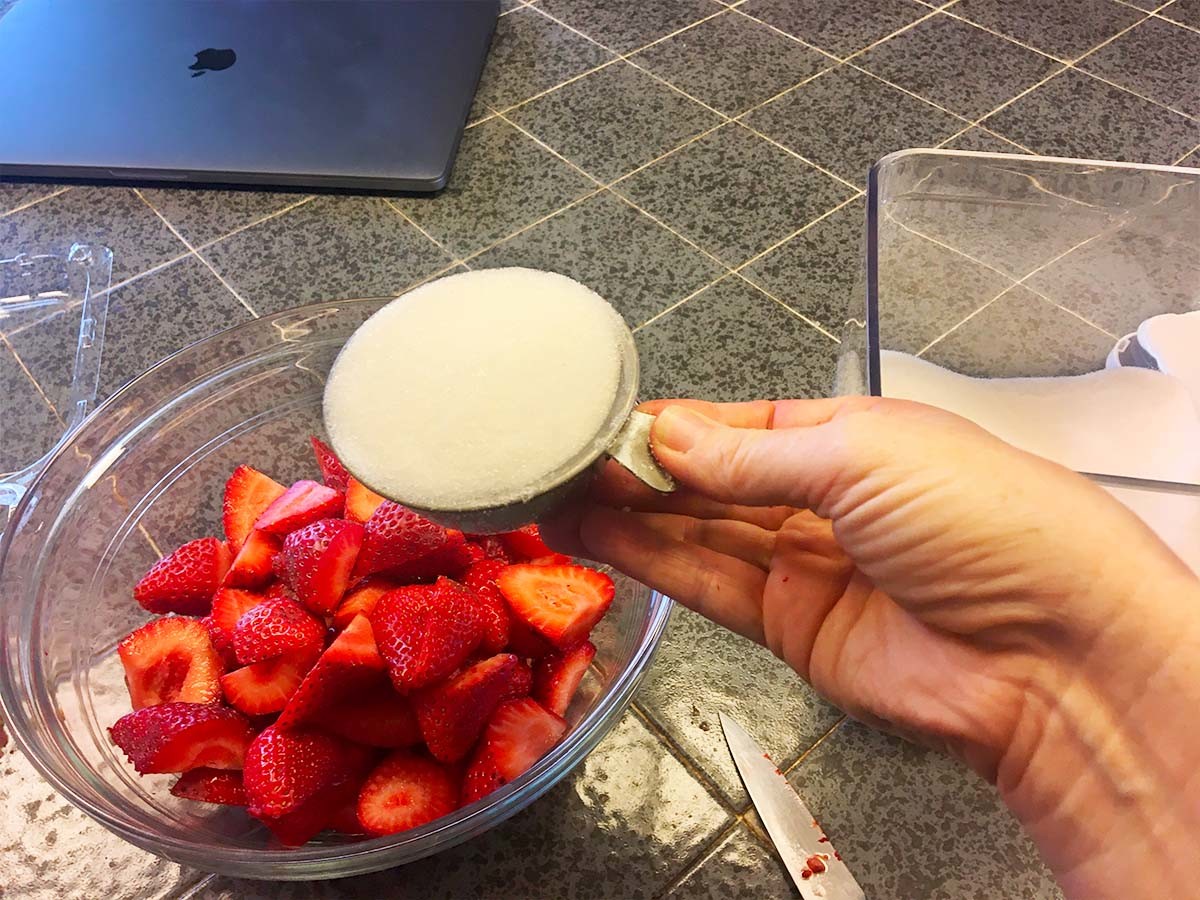
- Trim the tops off the strawberries and slice the strawberries. Put them in a bowl and add a cup of sugar.
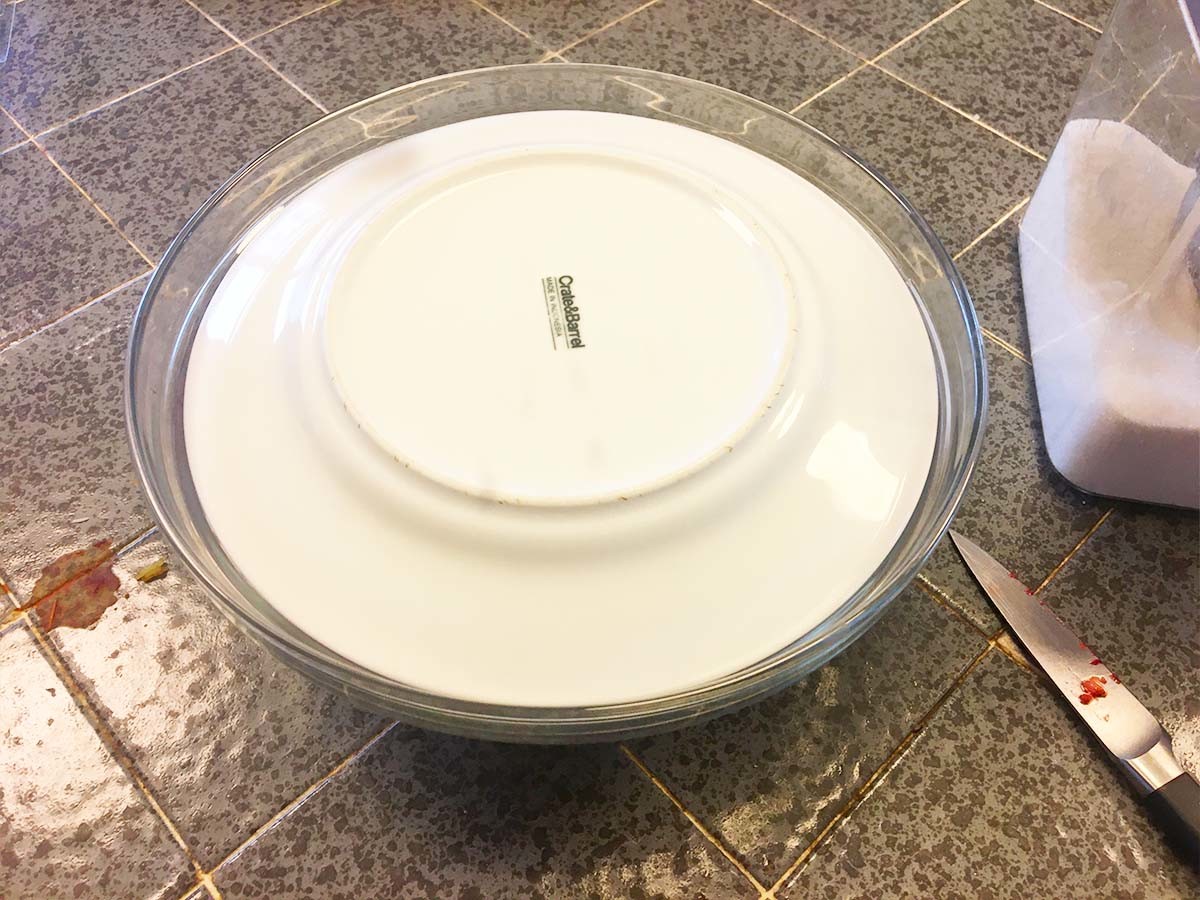
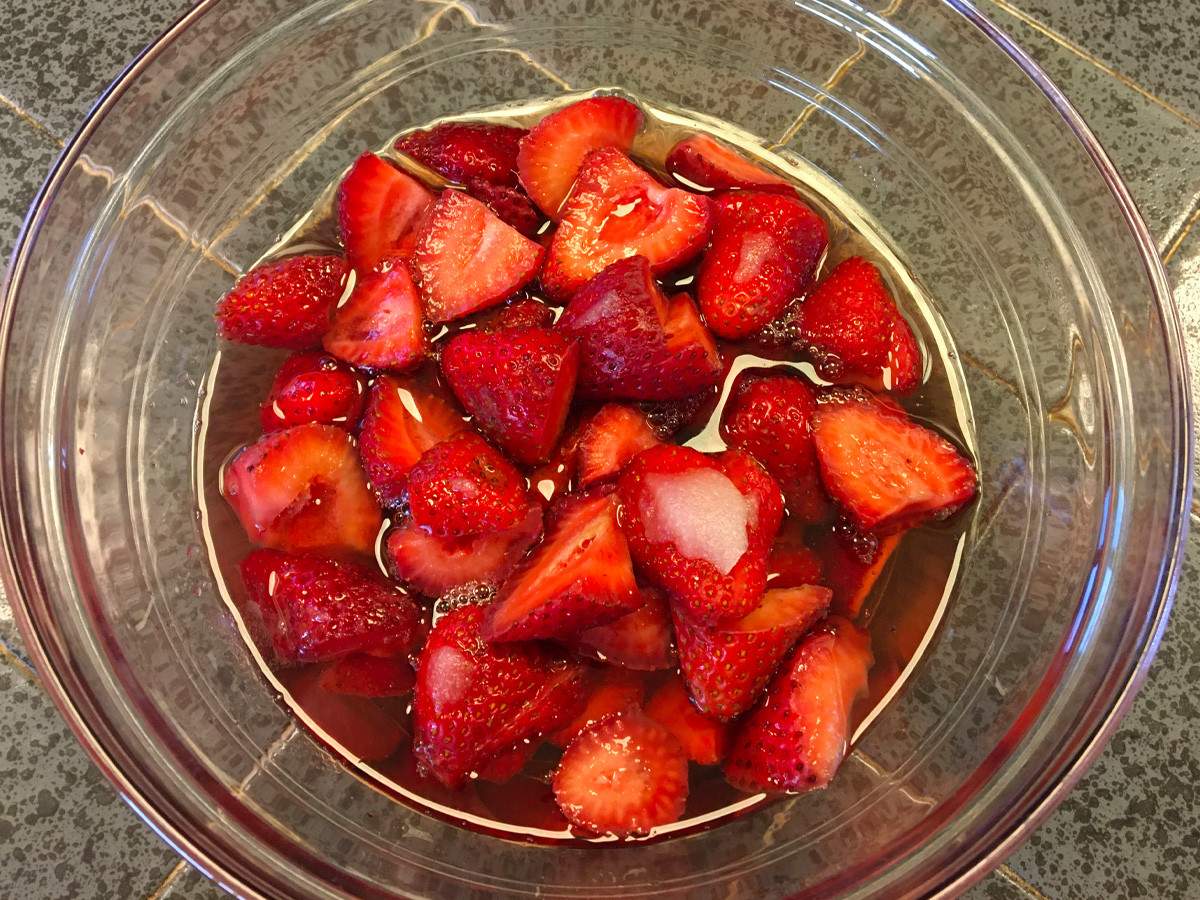
- Cover the strawberries and let them rest overnight or for several hours (like four). This isn’t necessary, but helps release the pectin from the fruit and takes less time to cook the berries into jam. When you go back to check on it, you should see the strawberries sitting in their own juice.
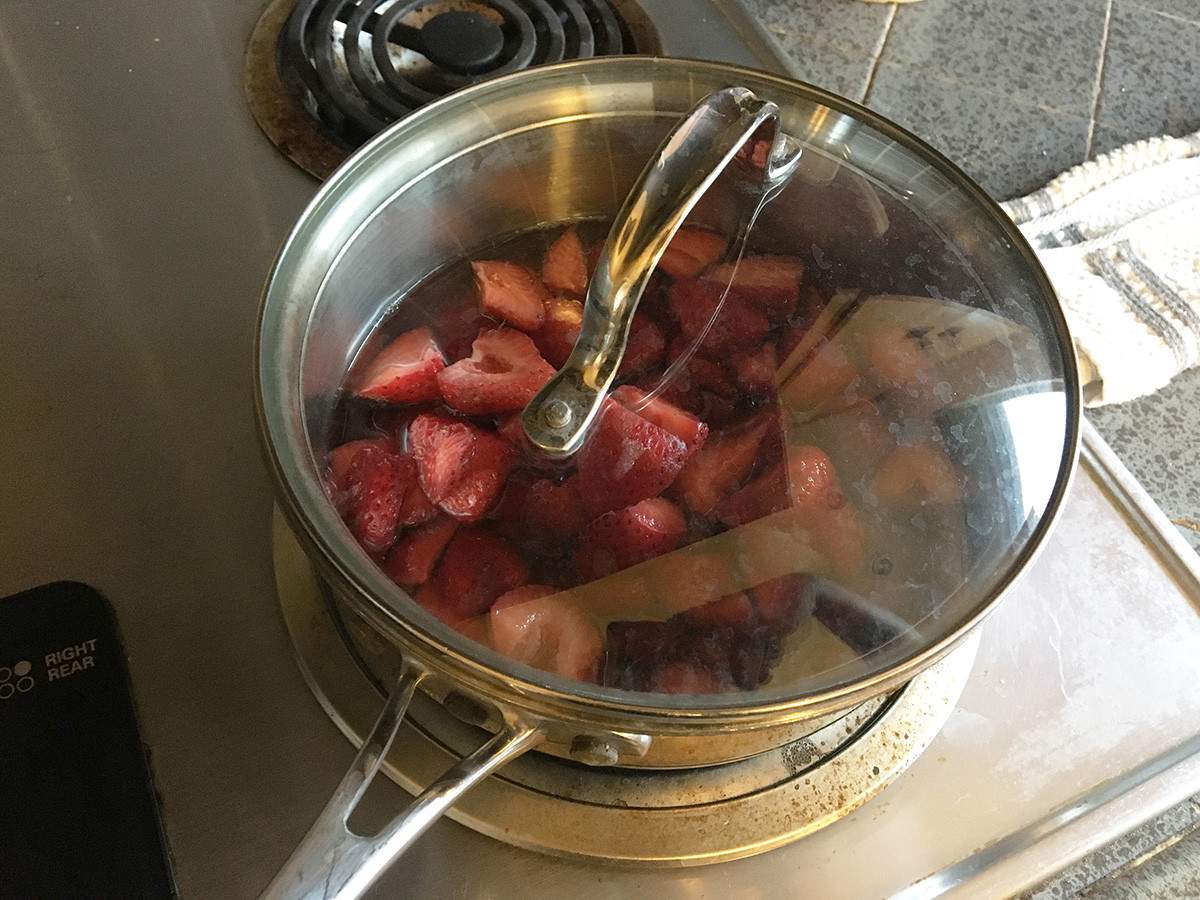
- Dump the content of the bowl into a saucepan and cook on medium heat, bringing to a boil, but keeping at a simmer for 10 minutes.
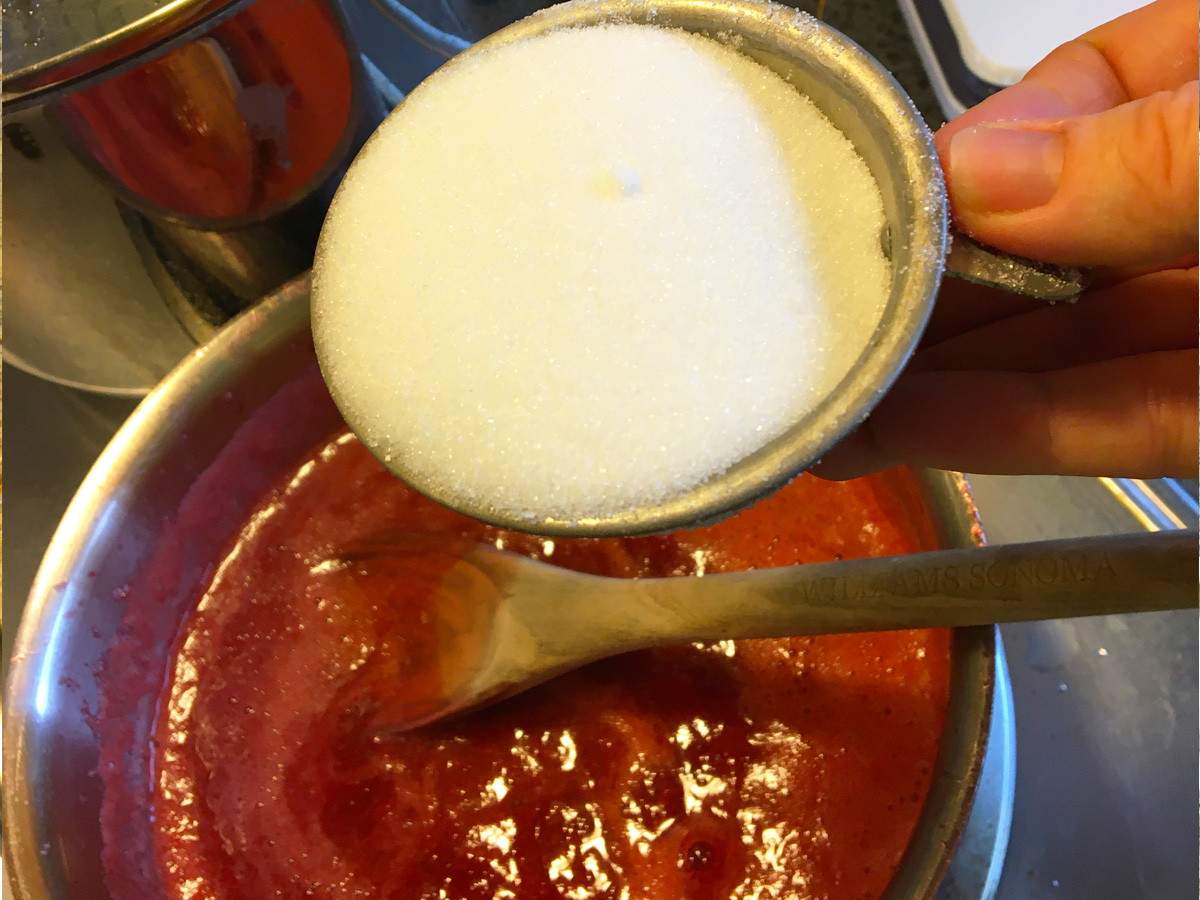
- Mash up the strawberries using an immersion blender, actual blender, or potato masher.
- Add a pinch of salt.
- Add the juice of half a lemon (at least a tablespoon)
- Add the other cup of sugar (more to taste if necessary.
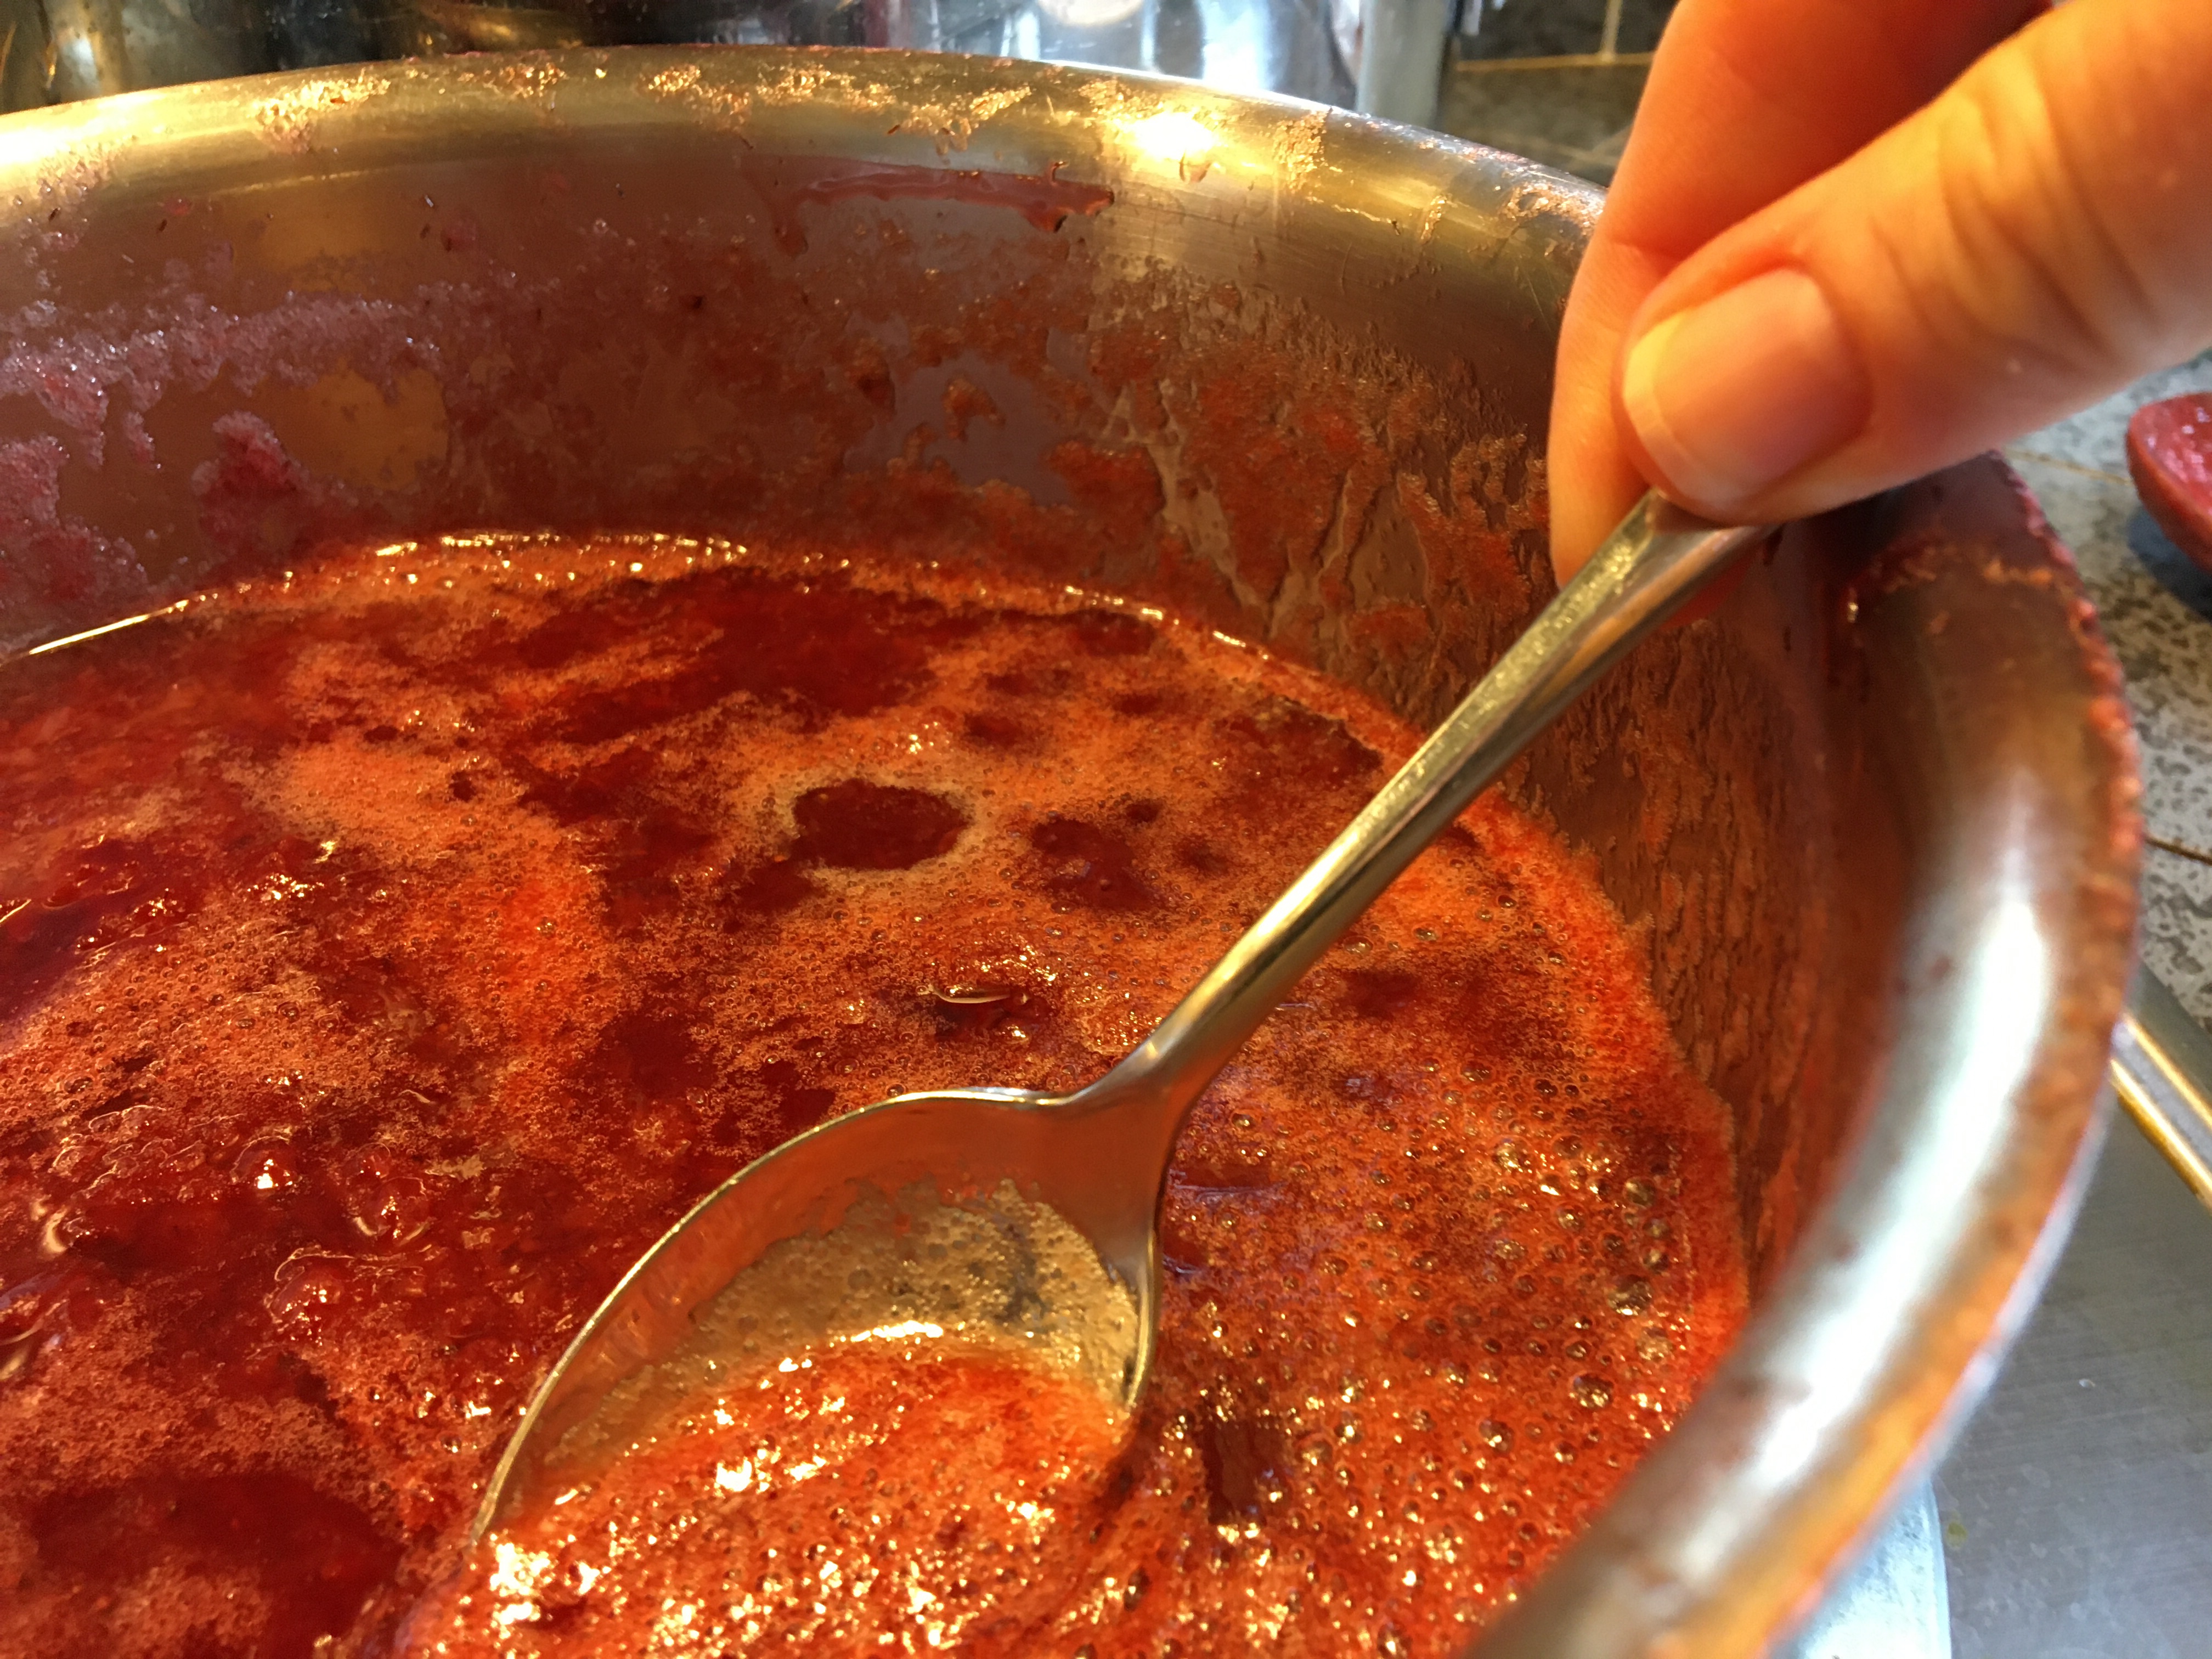
- Simmer for another 10 minutes.
- Scrape off the top foamy part (but keep it because it is still delicious). This step isn’t crucial, but if you are canning, it looks nicer and more finished.
- Taste your jam one last time and adjust anything as needed.
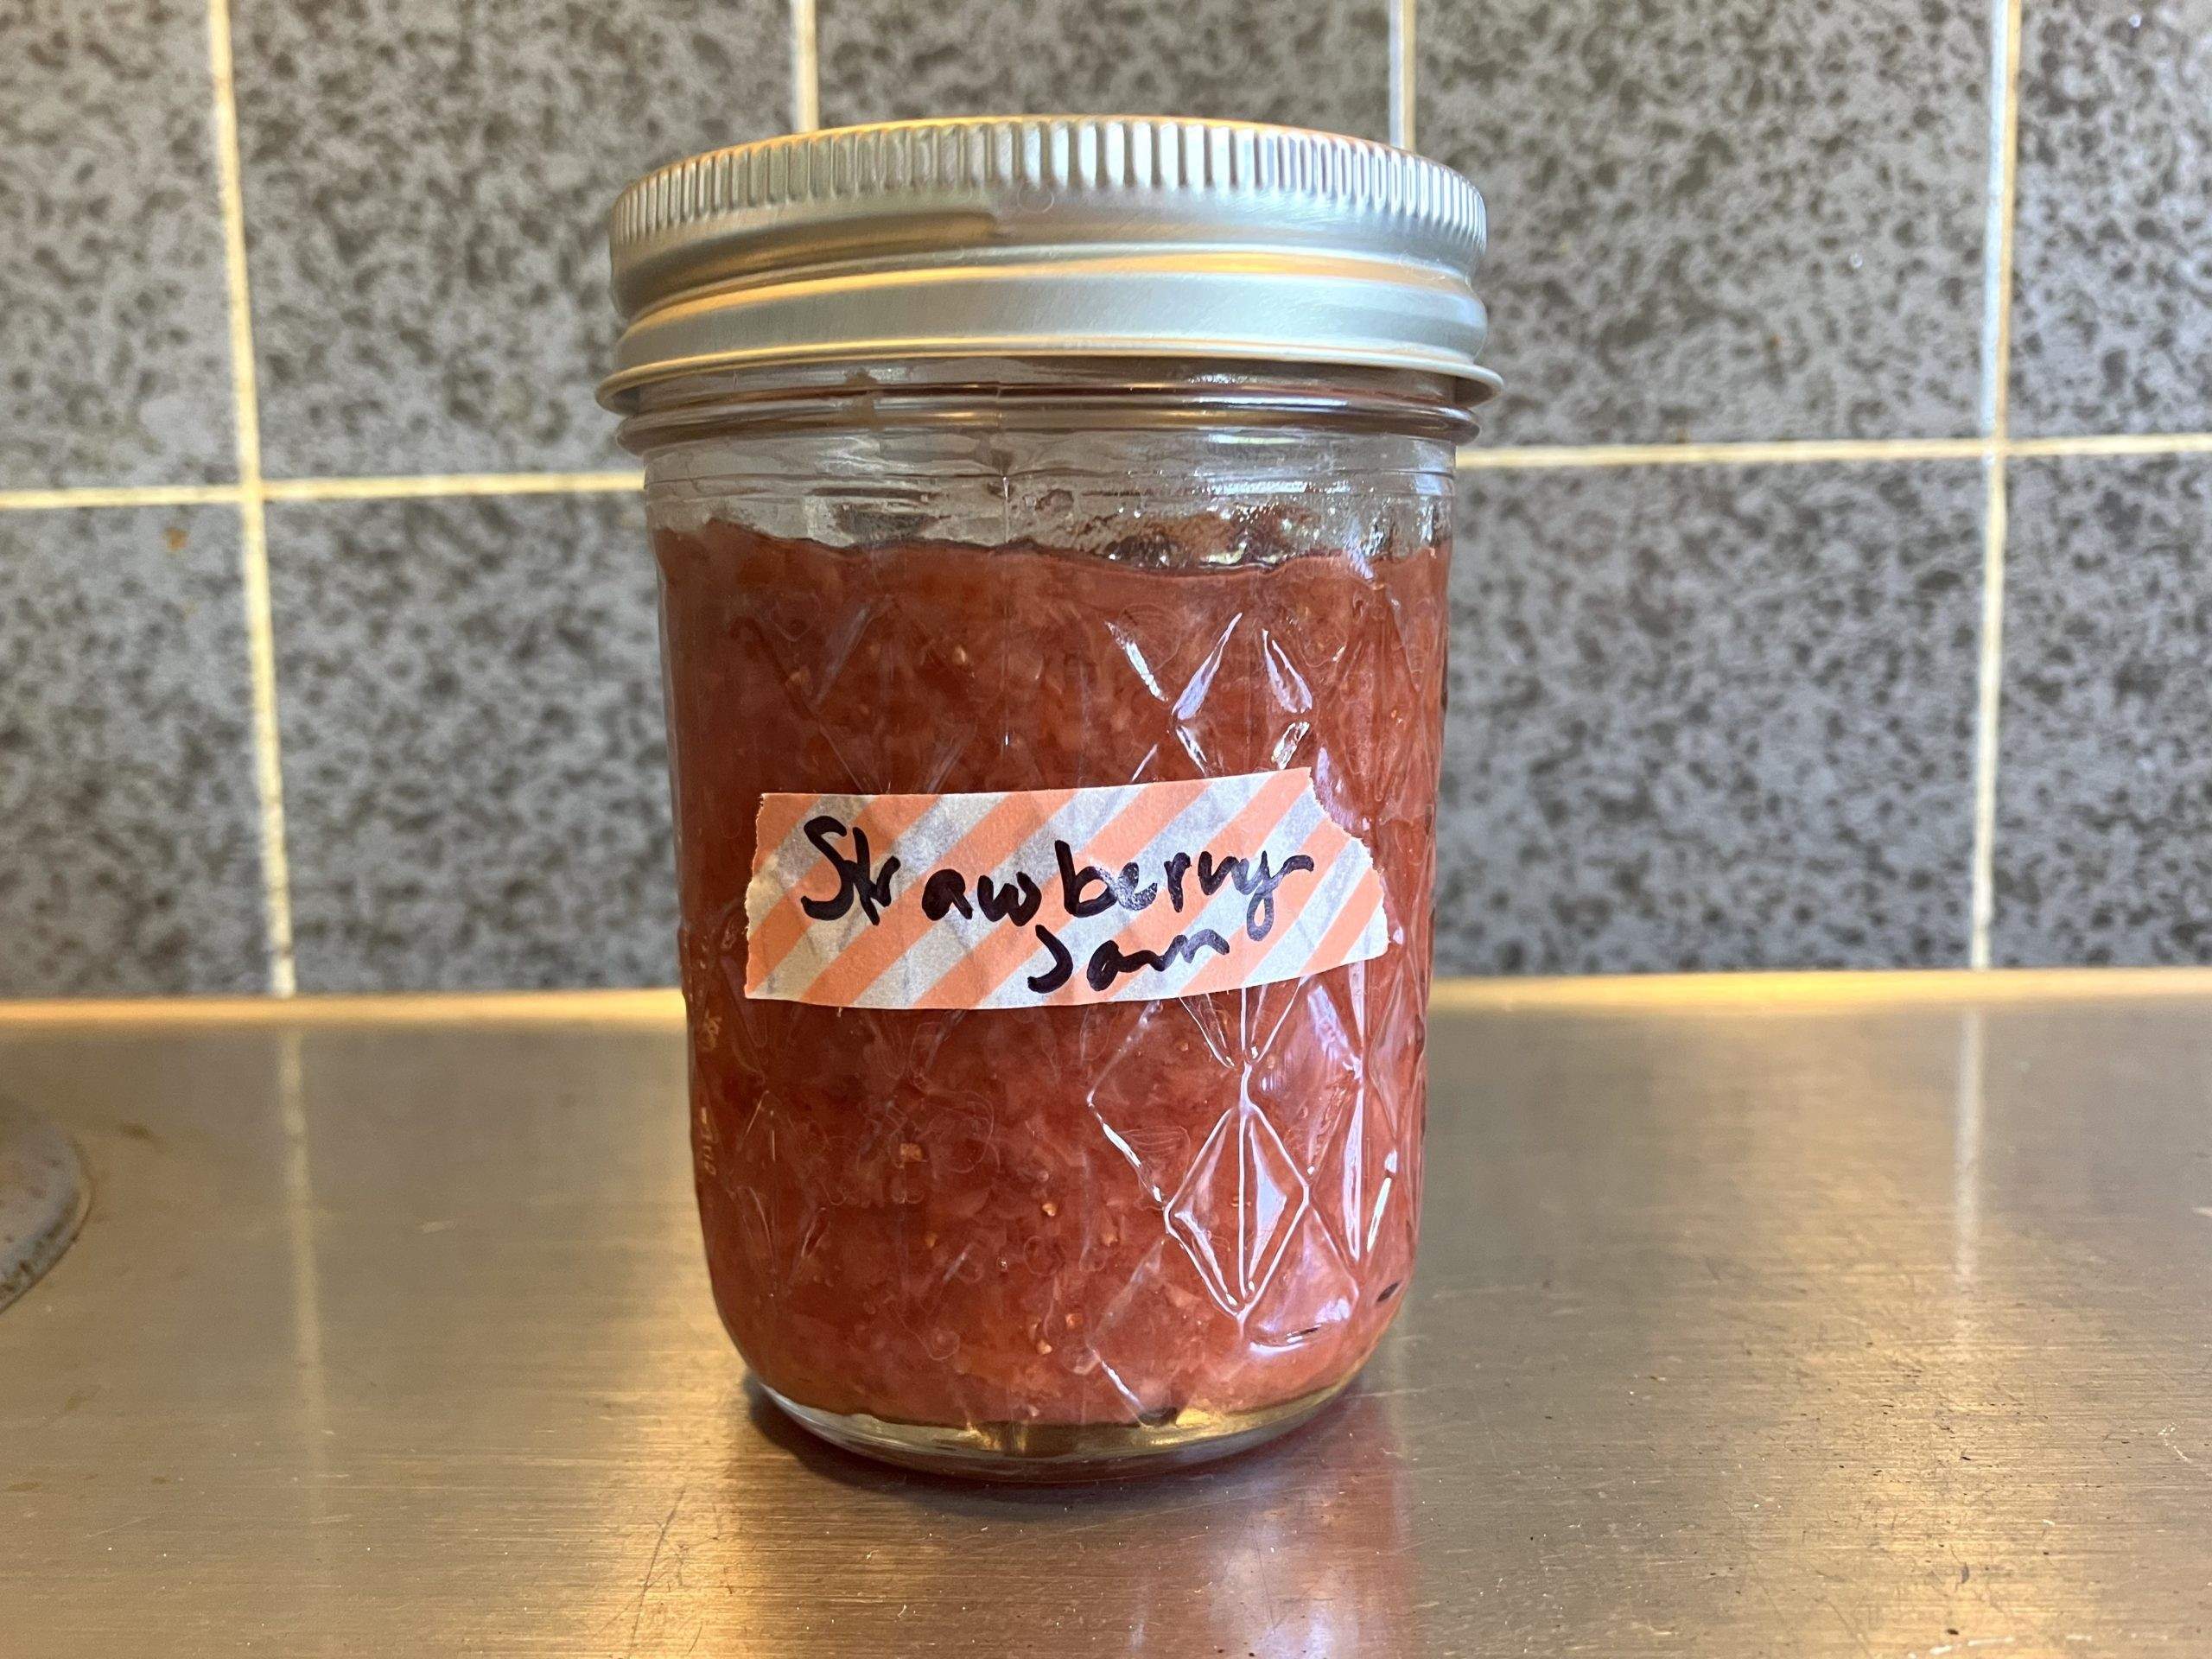
- Put into clean jars. My grandmother used to upcycle peanut butter jars or you can use canning jars.
You now have delicious strawberry jam! You can freeze it for a year or put it in the fridge and it should be good for a month or so. Or take the next step to water bath canning to preserve for a year and make it shelf stable. This is a good tutorial for that.